Welcome to the website for landscape facilities products and knowledge.

How can metal flower boxes with automatic watering systems be installed?
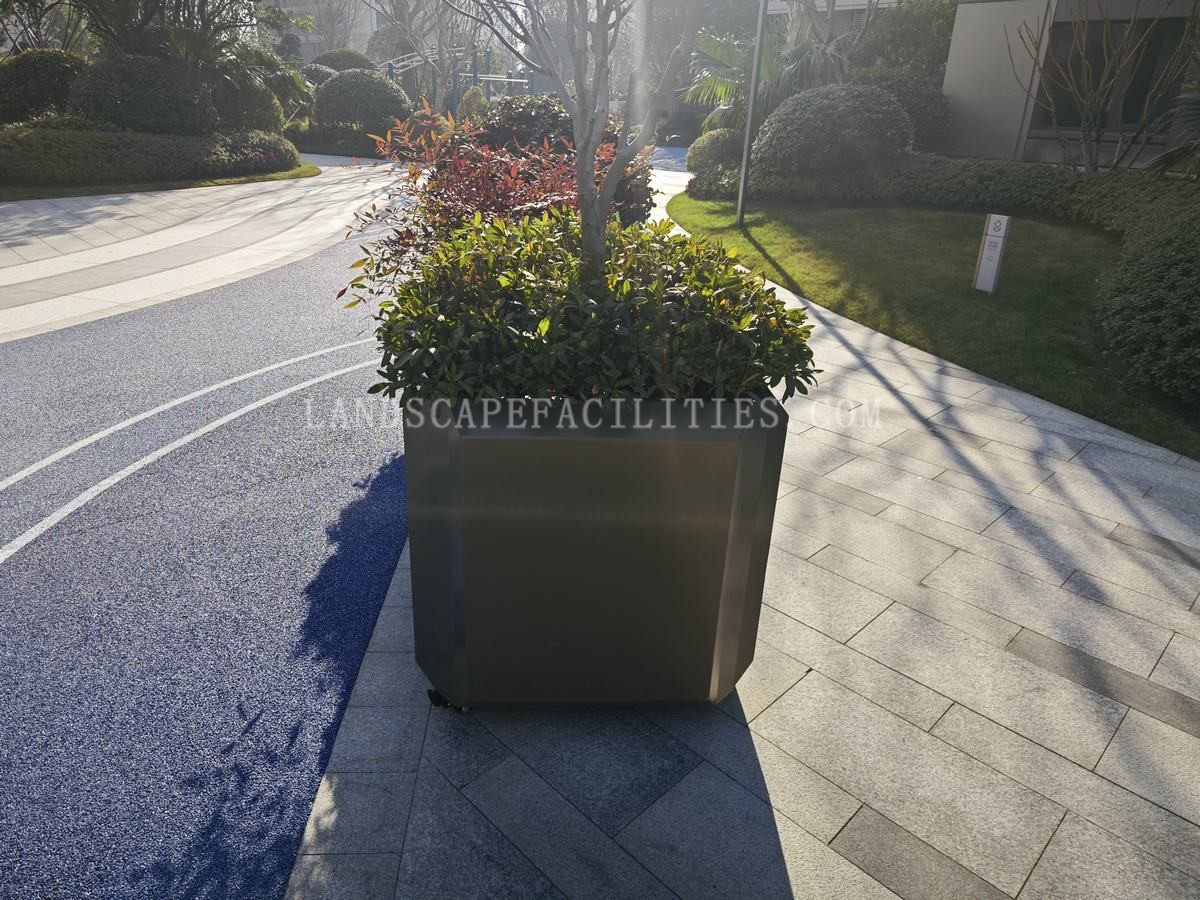
Installing metal flower boxes with automatic watering systems is a great way to enhance your garden while ensuring your plants stay hydrated with minimal effort. Here’s a step-by-step guide to help you get started:
1. Choose the Right Location: Select a spot in your garden or balcony that receives adequate sunlight and is easily accessible for maintenance. Ensure the surface is level to prevent water pooling.
2. Assemble the Flower Box: If your metal flower box comes unassembled, follow the manufacturer’s instructions to put it together. Make sure all parts are securely fastened to avoid leaks or instability.
3. Install the Watering System: Most automatic watering systems include a water reservoir, tubing, and drip nozzles. Connect the tubing to the reservoir and position the drip nozzles evenly throughout the flower box to ensure all plants receive water.
4. Connect to a Water Source: If your system is connected to a main water supply, attach the tubing to the faucet or irrigation line. For self-contained systems, fill the reservoir with water and set the timer according to your plants’ needs.
5. Add Soil and Plants: Fill the flower box with high-quality potting soil and plant your flowers or greenery. Arrange the plants to allow room for growth and ensure the drip nozzles are positioned near the roots.
6. Test the System: Turn on the water supply or activate the system to check for leaks and ensure even water distribution. Adjust the flow rate or nozzle positions if necessary.
7. Maintain Regularly: Clean the system periodically to prevent clogs and check the water levels in the reservoir. Trim plants as needed to keep them healthy and thriving.
By following these steps, you can enjoy a beautiful, low-maintenance garden with metal flower boxes and automatic watering systems. This setup is perfect for busy gardeners or those looking to add a modern touch to their outdoor spaces.
Related search: