Welcome to the website for landscape facilities products and knowledge.

How can plastic flower boxes with drainage systems be installed?
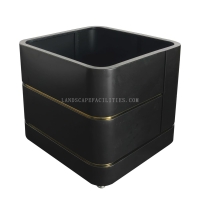
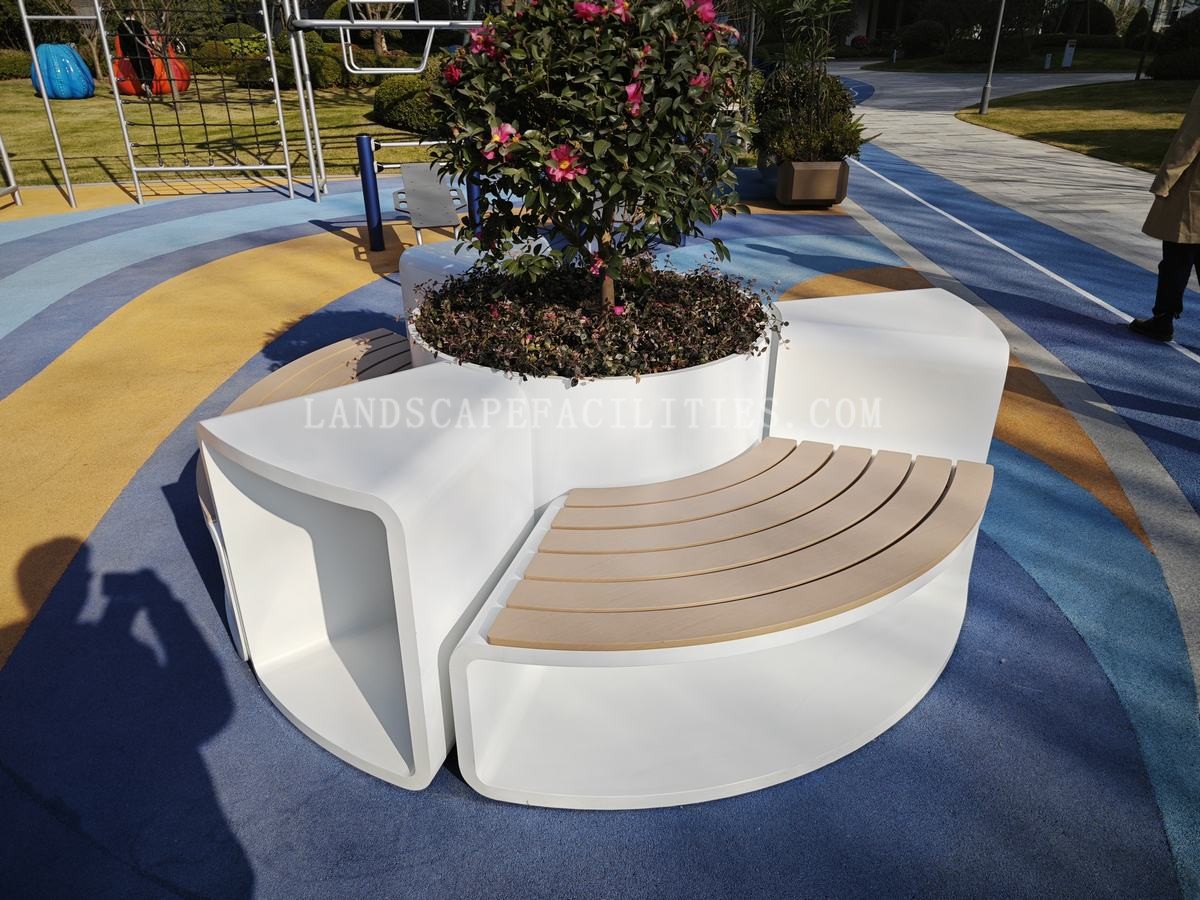
Installing plastic flower boxes with drainage systems is a straightforward process that ensures healthy plant growth and prevents waterlogging. Here’s a step-by-step guide to help you:
1. Choose the Right Location: Select a spot with adequate sunlight and ensure the surface is level. This is crucial for proper drainage and plant health.
2. Prepare the Flower Box: Before installation, check the drainage holes at the bottom of the plastic flower box. If they are insufficient, drill additional holes to improve water flow.
3. Add a Drainage Layer: Place a layer of gravel or small stones at the bottom of the box. This helps prevent soil from clogging the drainage holes and improves water flow.
4. Insert a Mesh or Filter: Cover the drainage layer with a fine mesh or landscape fabric. This prevents soil from washing away while allowing water to drain freely.
5. Fill with Soil: Add high-quality potting soil, leaving enough space at the top for your plants. Ensure the soil is evenly distributed and slightly compacted.
6. Plant Your Flowers: Arrange your plants according to their growth requirements. Gently press the soil around the roots to secure them in place.
7. Water Thoroughly: After planting, water the soil generously to help the plants settle. Ensure excess water drains out through the holes.
8. Maintain Regularly: Check the drainage system periodically to ensure it’s functioning properly. Clean any clogged holes and adjust the soil as needed.
By following these steps, you can successfully install plastic flower boxes with drainage systems, creating a thriving garden space. Proper installation not only enhances the aesthetic appeal of your outdoor area but also promotes healthy plant growth.
Related search:
Recommendation
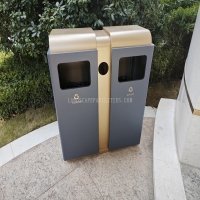
Double-bucket garbage bin, outdoor, metal, multi-color, powder-coated, double-bucket trash can