Welcome to the website for landscape facilities products and knowledge.

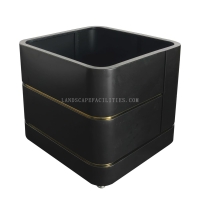
How do you set up a Concrete Planter Box?
Creating a concrete planter box is a rewarding DIY project that adds a touch of modern elegance to your garden or outdoor space. Here’s how you can set one up:
1. Gather Materials: You’ll need concrete mix, a mold (such as a wooden box or plastic container), a mixing container, water, and a trowel. Optional items include gloves, a drill for drainage holes, and sealant.
2. Prepare the Mold: Choose a mold that matches the size and shape of your desired planter. Line it with plastic wrap or apply a release agent to ensure the concrete doesn’t stick.
3. Mix the Concrete: Follow the instructions on the concrete mix package. Aim for a thick, pancake-batter consistency. Mix thoroughly to avoid lumps.
4. Pour the Concrete: Fill the mold halfway with the concrete mixture. Use a trowel to smooth the surface and ensure even distribution.
5. Add Reinforcement (Optional): For extra durability, insert a wire mesh or rebar into the wet concrete.
6. Create Drainage Holes: Before the concrete sets, insert small tubes or dowels where you want drainage holes. Remove them once the concrete hardens.
7. Let It Cure: Allow the concrete to cure for at least 24-48 hours. Keep it moist by lightly spraying it with water to prevent cracking.
8. Remove the Mold: Carefully remove the mold once the concrete is fully set. Sand any rough edges for a polished finish.
9. Seal and Decorate: Apply a concrete sealant to protect your planter from weathering. Paint or decorate it to match your garden’s aesthetic.
10. Plant Your Greenery: Fill the planter with soil and add your favorite plants or flowers.
With these steps, you’ll have a sturdy and stylish concrete planter box that enhances your outdoor space. Happy crafting!
Related search:
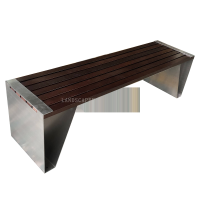
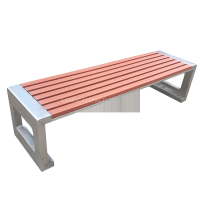
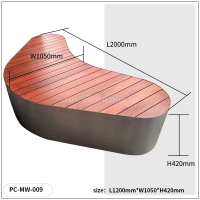
Recommendation
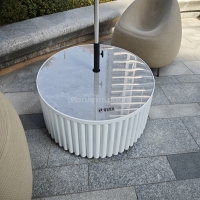
Round metal tube border design table with tempered glass or granite countertop on the top.