Welcome to the website for landscape facilities products and knowledge.

What are the installation steps for metal flower boxes?
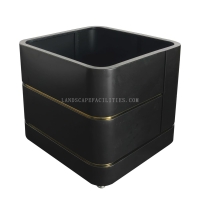
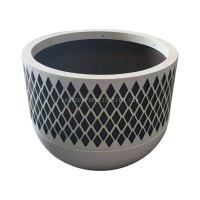
Installing metal flower boxes is a simple yet rewarding DIY project that can elevate your garden or outdoor space. Follow these steps to ensure a seamless installation:
1. Choose the Right Location: Select a spot that receives adequate sunlight and complements your garden layout. Ensure the area is level and free from obstructions.
2. Prepare the Surface: Clean the installation area and remove any debris. If attaching the flower box to a wall or railing, check for stability and use appropriate anchors or brackets.
3. Assemble the Flower Box: If your metal flower box comes in parts, follow the manufacturer’s instructions to assemble it securely. Ensure all screws and fasteners are tightened properly.
4. Secure the Box: If mounting, use sturdy brackets or screws to attach the flower box to the wall or railing. For freestanding boxes, ensure they are placed on a flat, stable surface.
5. Add Drainage and Soil: Line the bottom of the box with gravel or small stones for drainage. Fill it with high-quality potting soil, leaving enough space for your plants.
6. Plant Your Flowers: Arrange your chosen plants or flowers in the box, ensuring they have enough room to grow. Water them thoroughly after planting.
7. Maintain Regularly: Check the flower box periodically for stability and water your plants as needed. Clean the metal surface to prevent rust and maintain its appearance.
By following these steps, you can enjoy a beautiful and long-lasting addition to your outdoor space with metal flower boxes.
Related search: