Welcome to the website for landscape facilities products and knowledge.

How can multi-layer wooden flower boxes be installed?
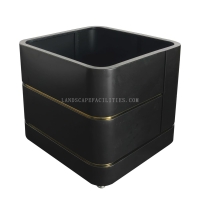
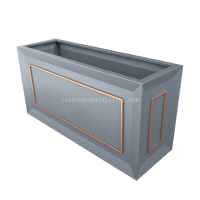
Installing multi-layer wooden flower boxes is a fantastic way to add charm and functionality to your garden or outdoor space. These versatile planters not only provide ample space for your favorite flowers and plants but also create a visually appealing vertical garden. Here’s a step-by-step guide to help you install them with ease.
Step 1: Choose the Right Location
Before starting, select a suitable spot for your flower boxes. Ensure the area receives adequate sunlight and has proper drainage. Measure the space to confirm the dimensions of your multi-layer wooden flower boxes will fit perfectly.
Step 2: Gather Your Tools and Materials
You’ll need the following:
- Multi-layer wooden flower boxes
- Screws or nails
- Drill or hammer
- Level
- Measuring tape
- Soil and plants
Step 3: Assemble the Flower Boxes
If your flower boxes come unassembled, follow the manufacturer’s instructions to put them together. Ensure all layers are securely attached and stable.
Step 4: Secure the Flower Boxes
Use screws or nails to attach the flower boxes to a wall, fence, or stand. Make sure they are level and firmly fixed to prevent tipping. If you’re placing them on the ground, ensure the base is stable and even.
Step 5: Add Soil and Plants
Fill each layer with high-quality soil, leaving enough space for your plants. Arrange your flowers or greenery creatively, considering their growth patterns and sunlight needs.
Step 6: Water and Maintain
After planting, water your flowers thoroughly. Regularly check the soil moisture and trim any overgrown plants to keep your multi-layer wooden flower boxes looking vibrant and healthy.
By following these steps, you can effortlessly install multi-layer wooden flower boxes and transform your garden into a lush, eye-catching oasis. Whether you’re a DIY enthusiast or a gardening novice, this project is both rewarding and enjoyable.
Related search: