Welcome to the website for landscape facilities products and knowledge.

How can wooden flower boxes with drainage systems be installed?
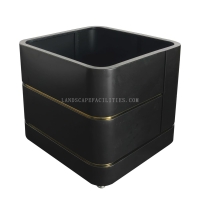
Installing wooden flower boxes with drainage systems is a great way to enhance your garden while ensuring your plants thrive. Here’s a step-by-step guide to help you through the process:
1. Choose the Right Location: Select a spot that receives adequate sunlight and is easily accessible for watering and maintenance.
2. Prepare the Flower Box: If your wooden flower box doesn’t come with pre-drilled drainage holes, use a drill to create small holes at the bottom. Space them evenly to allow proper water flow.
3. Add a Drainage Layer: Place a layer of gravel or small stones at the bottom of the box. This helps prevent soil from clogging the drainage holes and improves water flow.
4. Insert a Liner (Optional): To protect the wood from moisture, consider adding a plastic liner with holes that align with the drainage holes in the box.
5. Fill with Soil: Add high-quality potting soil, leaving enough space at the top for your plants. Ensure the soil is evenly distributed.
6. Plant Your Flowers: Carefully place your plants in the soil, arranging them as desired. Gently pat down the soil around the roots to secure them.
7. Water Thoroughly: After planting, water the flowers generously to help the soil settle and ensure the drainage system works effectively.
8. Maintain Regularly: Check the drainage system periodically to ensure it’s functioning properly. Remove any debris that may block the holes.
By following these steps, you can create a beautiful and functional wooden flower box that enhances your garden’s aesthetic while keeping your plants healthy. Whether you’re a DIY enthusiast or a gardening novice, this project is both rewarding and practical.
Related search:
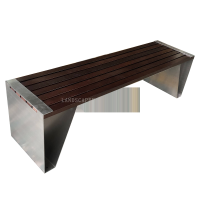
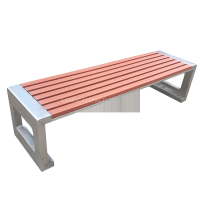
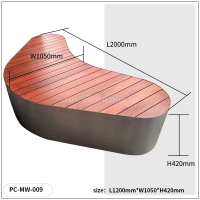
Recommendation
Outdoor stainless steel table with solar-powered ambient lighting feature - excellent design.