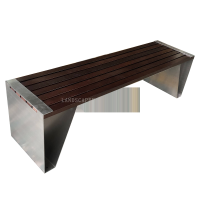
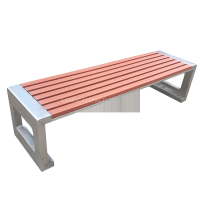
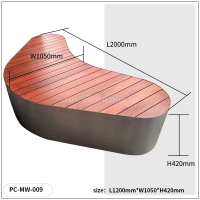
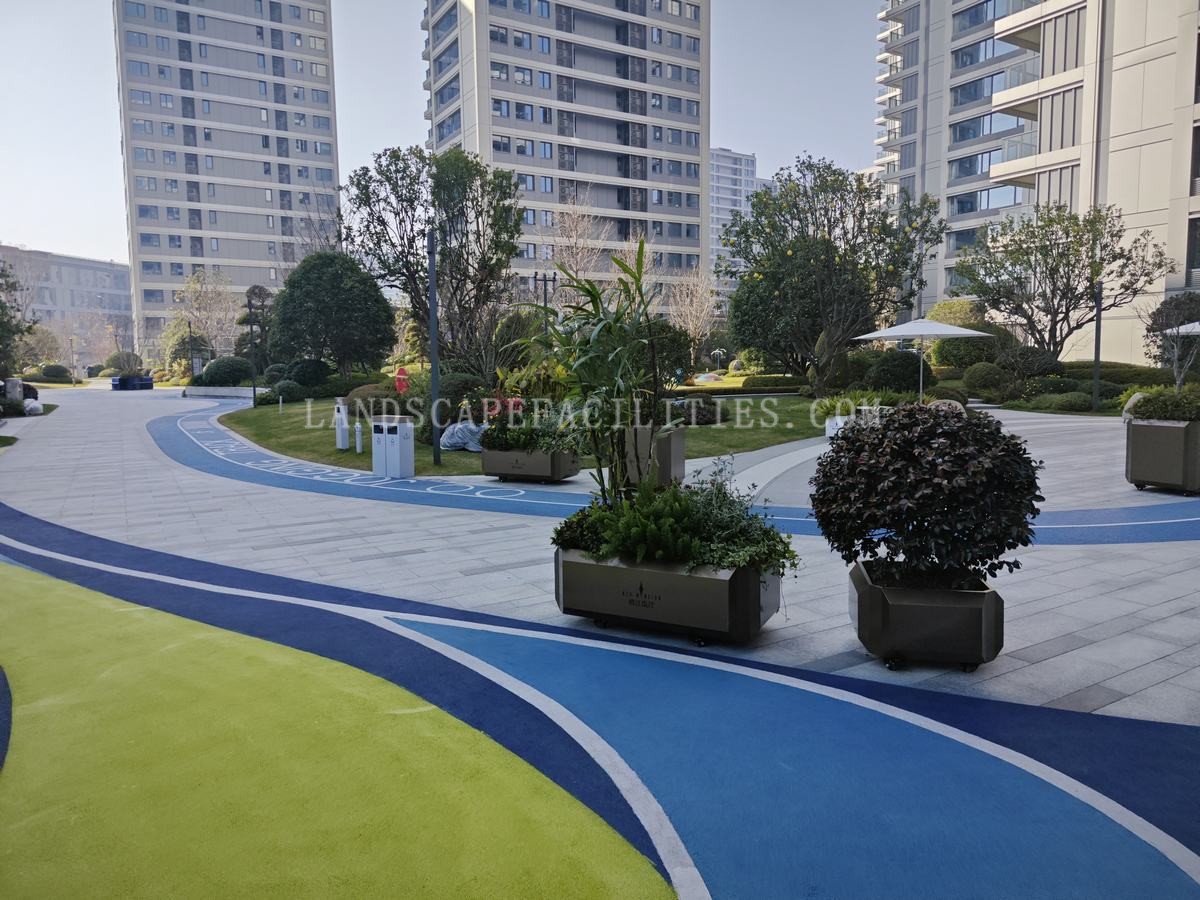
Welcome to the website for landscape facilities products and knowledge.

How can wooden flower boxes with drainage systems be installed?
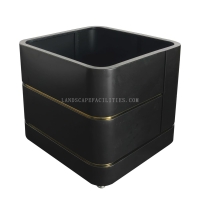
Installing wooden flower boxes with drainage systems is a simple yet effective way to enhance your garden's beauty and functionality. Follow these steps for a successful installation:
1. Choose the Right Location: Select a spot with adequate sunlight and proper airflow for your plants. Ensure the area is level and accessible for watering and maintenance.
2. Prepare the Flower Box: If your wooden flower box doesn’t come with pre-drilled drainage holes, use a drill to create small holes at the bottom. Space them evenly to allow excess water to escape.
3. Add a Drainage Layer: Place a layer of gravel or small stones at the bottom of the box. This prevents soil from clogging the drainage holes and improves water flow.
4. Insert a Liner (Optional): To protect the wood from moisture, consider adding a plastic liner. Cut it to fit the box and poke holes in it to align with the drainage holes.
5. Fill with Soil: Use high-quality potting soil mixed with compost for optimal plant growth. Fill the box, leaving about an inch of space at the top to prevent overflow when watering.
6. Plant Your Flowers: Arrange your plants according to their sunlight and spacing needs. Gently press the soil around the roots to secure them.
7. Water and Maintain: Water the plants thoroughly after planting. Regularly check the drainage system to ensure it’s functioning properly and adjust as needed.
By following these steps, you can create a beautiful and functional garden feature with wooden flower boxes that promote healthy plant growth.
Related search: