Welcome to the website for landscape facilities products and knowledge.

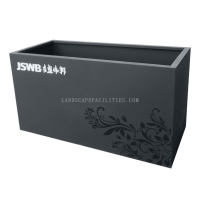
How can wooden flower boxes with automatic watering systems be installed?
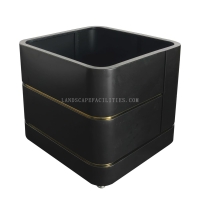
Installing wooden flower boxes with automatic watering systems is a great way to enhance your gardening experience while ensuring your plants stay hydrated. Here’s a step-by-step guide to help you set up your self-watering planters:
1. Choose the Right Location: Select a spot with adequate sunlight and ensure the surface is level. This will help the watering system function efficiently.
2. Assemble the Flower Box: If your wooden flower box comes unassembled, follow the manufacturer’s instructions to put it together. Ensure it’s sturdy and has proper drainage holes.
3. Install the Watering System: Place the automatic watering system inside the box. Most systems include a water reservoir, tubing, and a drip mechanism. Connect the tubing to the reservoir and position the drip lines near the plant roots.
4. Add Soil and Plants: Fill the box with high-quality potting soil, leaving enough space for the plants. Arrange your plants evenly and cover the roots with soil.
5. Connect to a Water Source: If your system requires an external water source, connect it to a garden hose or a water tank. Ensure the connection is secure to prevent leaks.
6. Test the System: Turn on the water supply and check if the system distributes water evenly. Adjust the drip lines if necessary.
7. Maintain Regularly: Monitor the water levels in the reservoir and clean the system periodically to prevent clogs.
By following these steps, you can enjoy a thriving garden with minimal effort. Wooden flower boxes with automatic watering systems are perfect for busy gardeners or those looking to conserve water.
Related search: